The Complete Home Security Pre-Installation Checklist
| Checklist Item | Why It Matters | Action |
|---|---|---|
| Count all exterior doors | Each door needs a sensor | Walk the perimeter — include garage and basement |
| Count accessible ground-floor windows | Primary bypass point for door sensors | Note all windows reachable without a ladder |
| Identify indoor movement paths | Determines motion sensor locations | Walk from every entry to the main rooms — mark hallways and landings |
| Map WiFi signal strength | Wireless cameras and sensors need reliable signal | Test WiFi on your phone at each planned device location |
| Check lighting at entry points | Dark entry points are higher risk — cameras need light | Note any dark zones needing motion-activated lights |
| Identify high-value storage areas | Determines indoor camera and sensor priority | Note where valuables, safes, or expensive electronics are kept |
| Note any pets and their movement patterns | Reduces false alarm risk | Note where pets sleep, roam, and whether they climb furniture |
| Check local alarm permit requirements | Legal requirement in most US cities | Search your city or county website before installation day |
| Decide on monitoring preference | Affects system choice and monthly budget | Self-monitor, hybrid, or full 24/7 professional monitoring |
| Confirm WiFi router location and range | Avoid dead zones for wireless devices | Test signal at garage, basement, and far corners of property |
| Read your lease or HOA rules (if applicable) | Avoid restrictions on drilling or exterior cameras | Review lease or HOA documentation before purchasing equipment |
| Set a realistic budget | Prevents over-spend or under-protect scenarios | Equipment + installation + 12 months monitoring = true Year 1 cost |
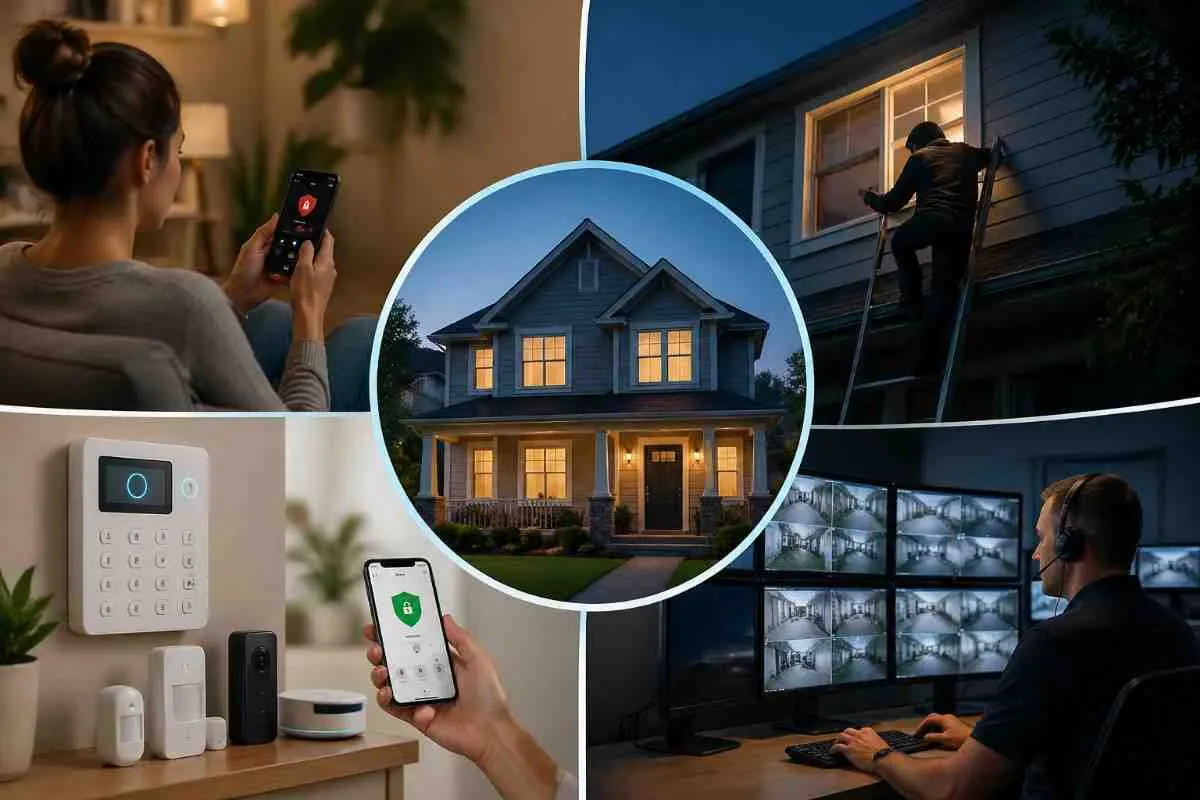
1. Walk Your Home Like a Burglar
Before doing anything else, walk around the outside of your home and ask yourself: where would I enter if I had to get inside quickly and quietly without being seen?
- Which doors look easiest to force? Front door, back door, or sliding patio door?
- Which windows are accessible without a ladder and not visible from the street?
- Are there areas of your property that are dark at night and shielded from the street?
- Can the garage be accessed from inside the home via an unlocked interior door?
- Are there overgrown bushes, trees, or structures that provide cover for someone approaching?
This exercise identifies your actual vulnerabilities rather than the standard list. Every home is different and the highest-risk entry point varies by property layout.
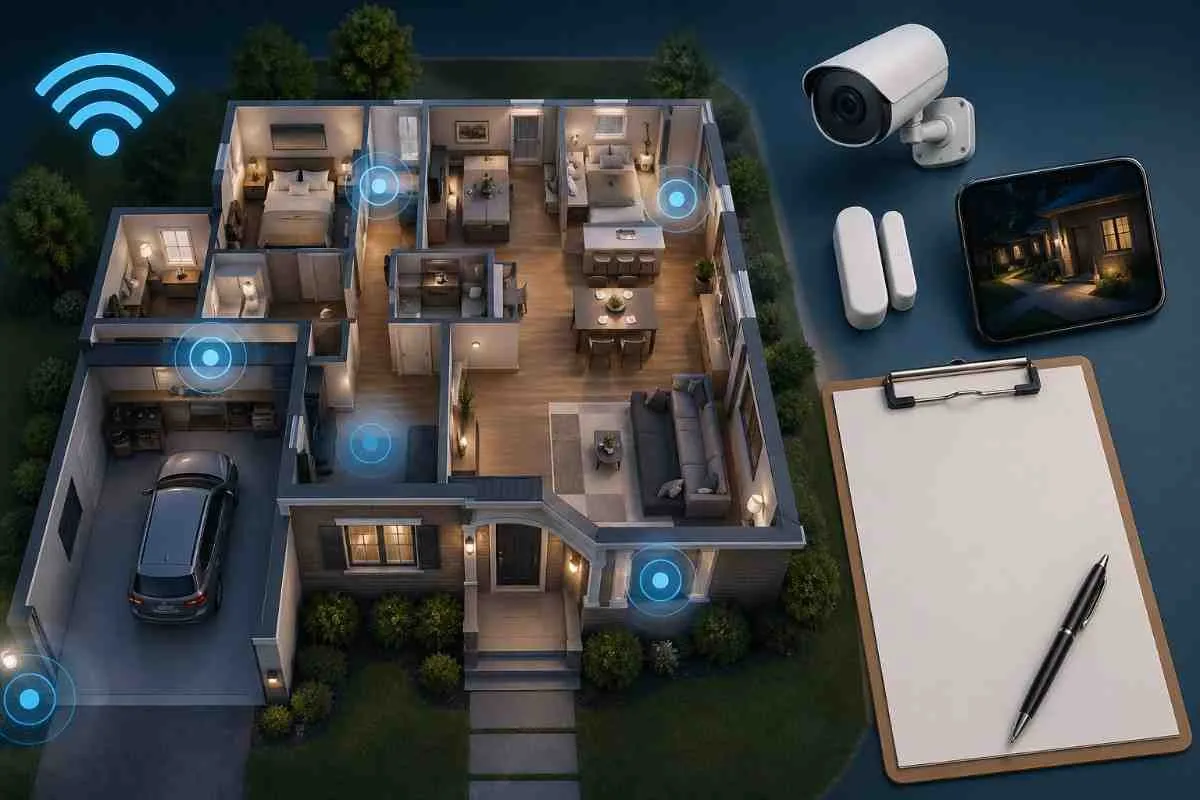
2. Count Every Entry Point
Create a simple inventory before choosing any equipment. Count and list:
This count tells you exactly how many door sensors and window sensors you need before you open a single product listing. Most starter kits include 2 to 3 sensors. The average 3-bedroom US home has 8 to 12 entry points. The gap is where most homes are under-protected.
3. Test Your WiFi Coverage
Wireless security cameras, video doorbells, and smart sensors all require a reliable WiFi signal to function. Before purchasing any wireless device:
- Walk to each planned device location with your phone and check the WiFi signal strength
- Test the garage, basement, far corner of the backyard, and any location more than 50 feet from your router
- Signal below 2 bars at a device location means you need either a WiFi extender, a mesh router node, or a wired device at that location
As a rule of thumb, one camera per 500 square feet of outdoor area is a reasonable baseline. Wide-angle cameras (120 to 180 degrees) reduce the total number needed by covering more area per device.
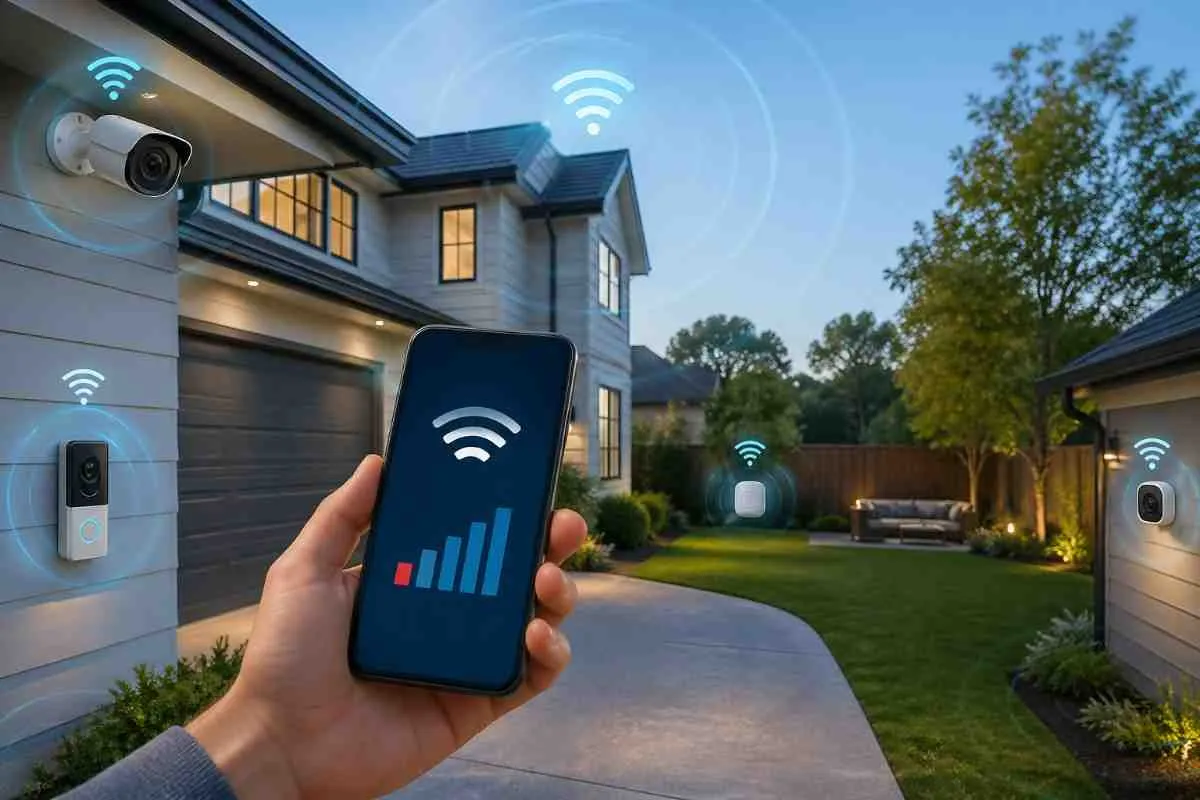
This step prevents the most frustrating installation outcome : mounting a camera in the perfect location and discovering it cannot maintain a reliable connection
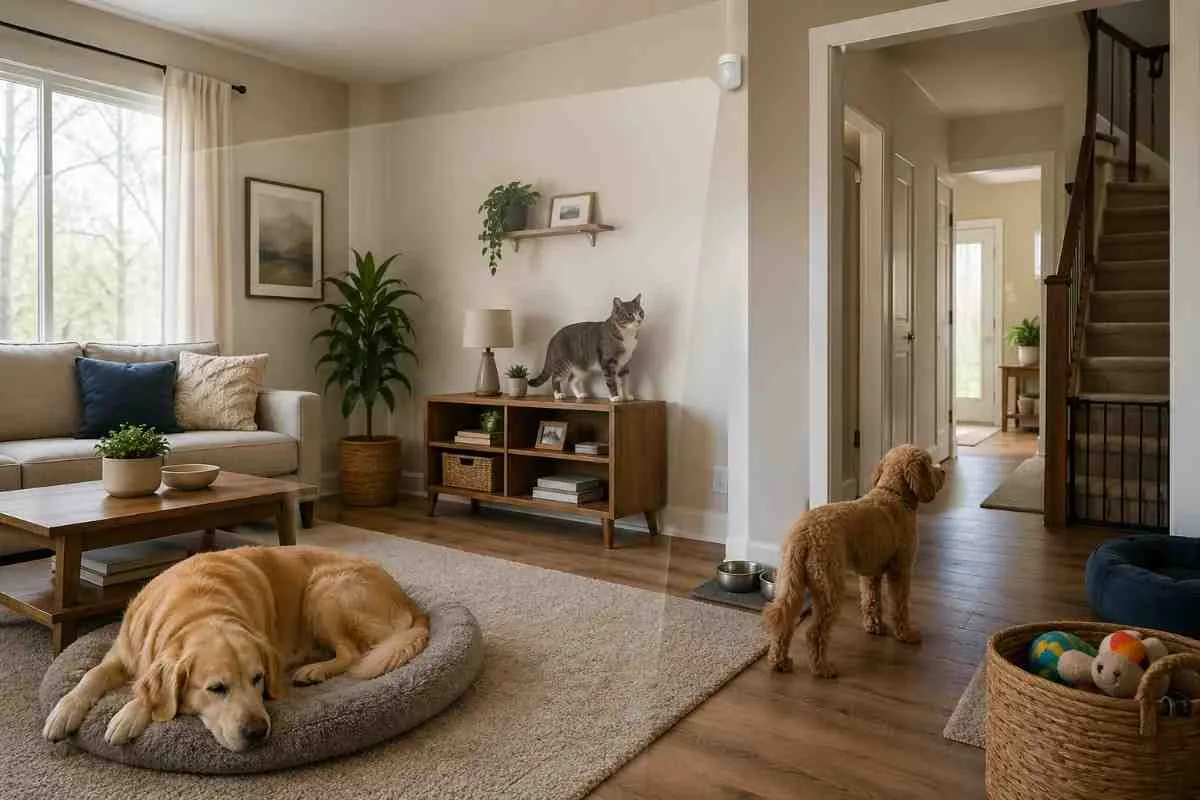
4. Note Your Pets and Their Movement Patterns
Pets cause the majority of false alarm complaints with motion sensors in DIY security setups. Before placing any motion sensor:
Motion sensors can be adjusted for pet immunity through your system app in most modern DIY setups. However, placement still matters. A sensor mounted at 6 to 7 feet in a corner of a room where pets do not access furniture will rarely false-trigger, regardless of sensitivity settings
5. Check Alarm Permit Requirements
Almost every US city and county requires homeowners to register a monitored alarm system and obtain a permit. Do this step before installation day, not after.
- Search '[your city or county] alarm permit' to find the registration form
- Initial permit cost : Typically $25 to $100
- Annual renewal : Typically $10 to $50
- In many cities, operating without a permit can result in fines of $100 to $1,000 if emergency services respond
- Some cities use a no-permit, no-response policy — services will not respond to alarms at unregistered addresses
6. Decide on Monitoring Before Choosing Equipment
Your monitoring preference determines which systems make sense for your situation. Make this decision before shopping:
Deciding on monitoring first narrows your system choices significantly. If you want no-contract monitoring, SimpliSafe, Ring, Cove, and Abode are the right category. If you want a full professional install with premium monitoring, Homesecurity and Vivint are the right category.
7. Set Your True Year 1 Budget
Most homeowners compare security system prices based on the equipment cost alone. This leads to under-budgeting and compromised coverage. Calculate your true Year 1 cost before deciding:
- Equipment cost : the hardware you purchase upfront
- Installation cost : $0 for DIY or $99 to $500 for professional
- 12 months of monitoring : your chosen plan multiplied by 12
- Alarm permit : $25 to $100 for initial registration
- Any additional devices not in your starter kit : add sensors for entry points the kit does not cover

Example Budget Calculation : Ring 5-piece kit ($199) + 4 extra sensors ($80) + 12 months Ring Protect Pro ($239.88) + alarm permit ($50) = Year 1 total of approximately $568.88. This is a more realistic planning number than the $199 advertised equipment price.
8. Review Your Lease or HOA Rules
Before purchasing any security device, confirm what you are allowed to install:
- Apartment lease : most prohibit drilling, permanent mounting, or exterior camera placements that face neighbouring properties
- HOA rules : some prohibit visible exterior cameras, specific types of doorbell cameras, or security signage
- Check the specific wording — most no-drill, peel-and-stick systems are allowed under virtually all lease agreements
- Ask your landlord or HOA in writing if you are unsure — get confirmation before purchasing